To begin using the WP External Images plugin, follow these steps:
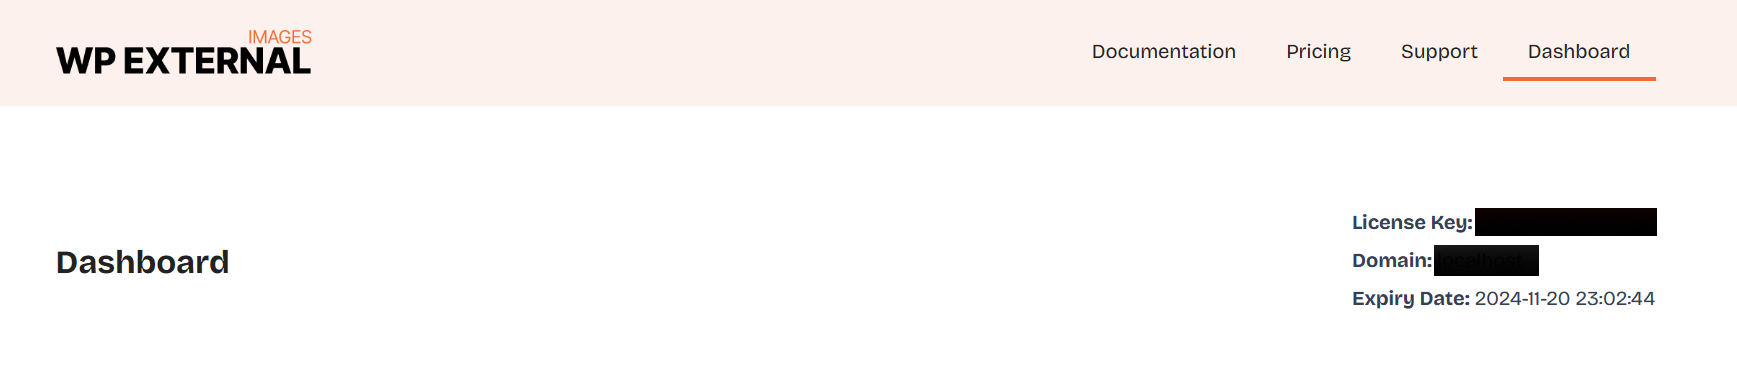
- Obtain a license key from your customer dashboard.
- Copy the license key and navigate to your WordPress admin panel.
- Go to
WP External Images->License. - Paste the license key in the provided field and click the “Activate” button.
Please note that, for successful activation, the domain linked to your account needs to match the domain where the plugin is installed.
Easily incorporate external images into your WordPress website by following these simple steps:
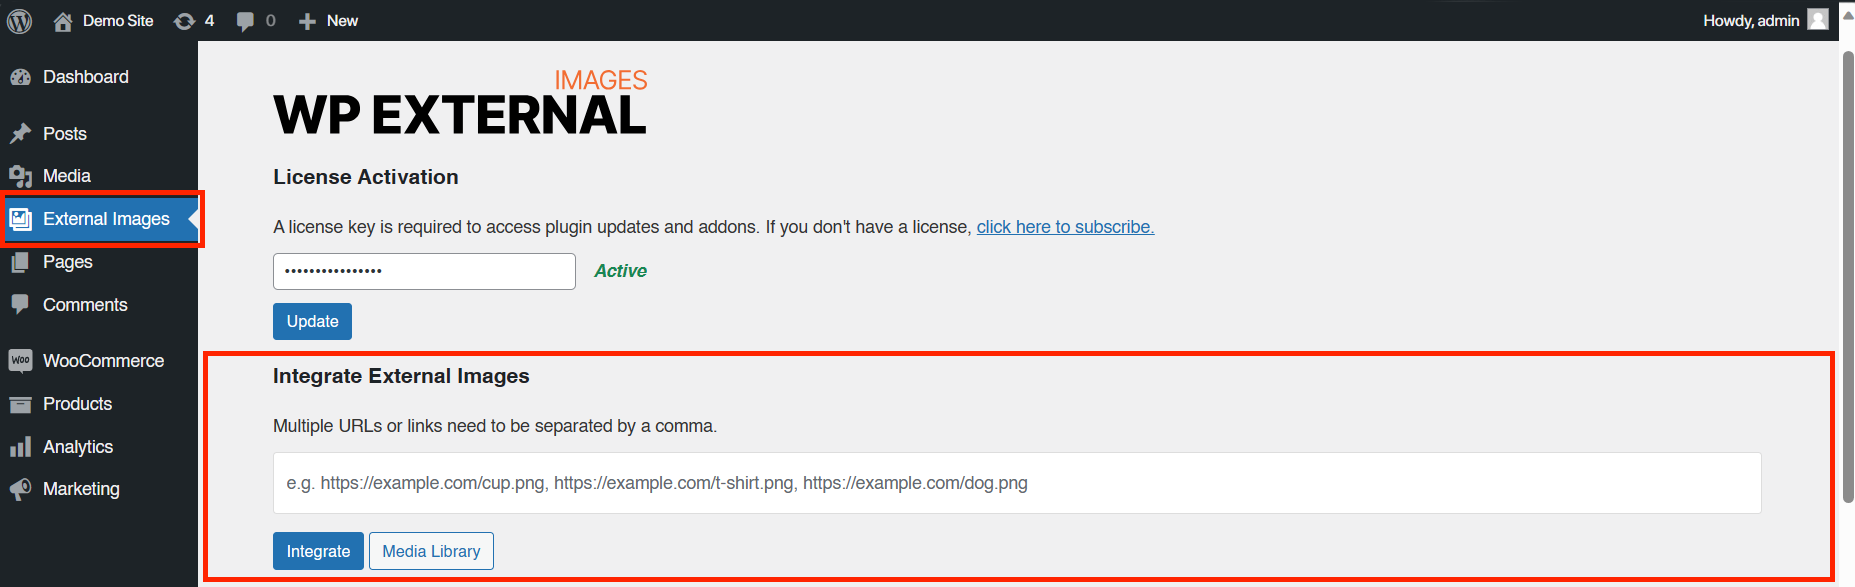
- Navigate to your WordPress dashboard.
- Locate the “WP External Images” menu, situated just below the media library.
- Click on the menu to access the WP External Images settings page.
- On the WP External Images settings page, find the “Integrate Images Using URLs or Links” section.
- In the designated field, paste the URLs or links of the external images you want to integrate.
- Once you’ve pasted the image links, click the “Integrate” button.
- The plugin will seamlessly integrate the specified images with your WordPress website, allowing you to use the images without the need to store them locally.
- If you’re integrating multiple URLs or links, remember to separate them using a comma, for example:
https://imagestock.com/cup.png, https://freestock.com/kitchen.jpg
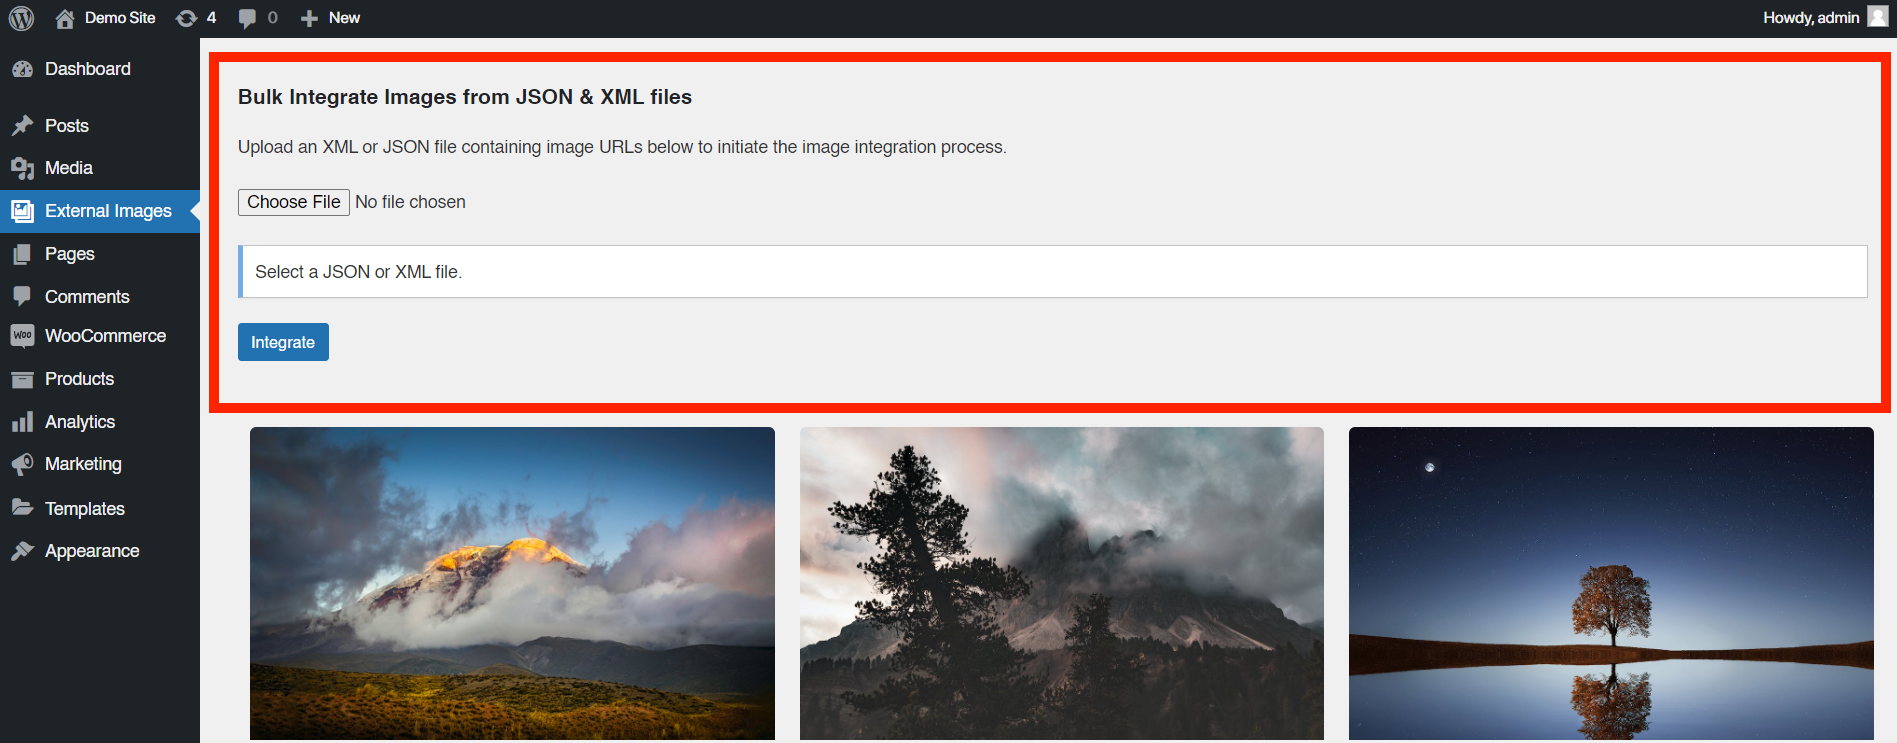
Integrating a large number of images individually can be a time-consuming task, especially if you’re managing a WooCommerce website or dealing with extensive media libraries. WP External Images simplifies this process by allowing you to upload JSON or XML files containing the image links you wish to import. This feature is available in the WP External Images Professional plan.
JSON Integration
Uploading a JSON File:
- Navigate to your WordPress dashboard.
- Click on the “External Images” menu.
- Head to the “Bulk Integrate Images from JSON & XML files section“.
- Click the “Choose File” button.
- Select the JSON file containing the image links you want to import.
- Click the “Integrate” button.
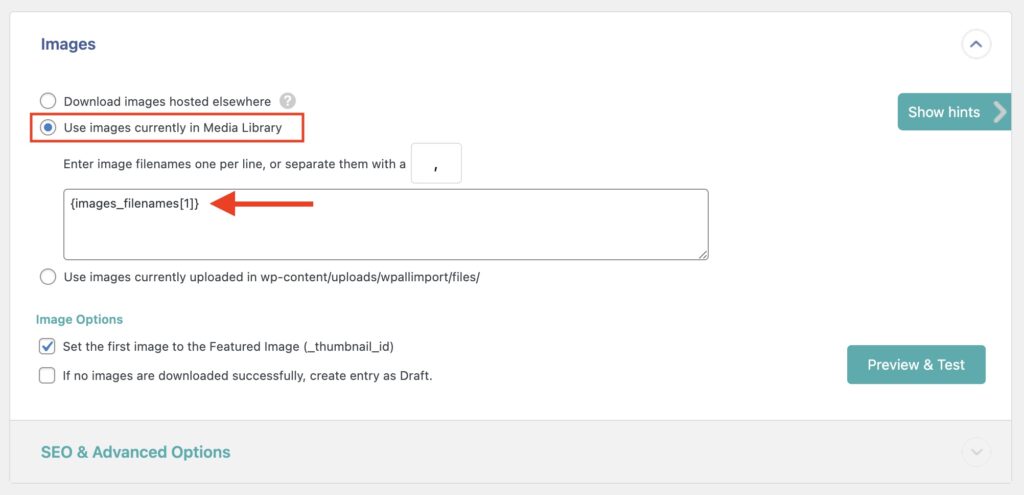
If you’re using the WP All Import & Export plugin to import posts or products, follow these steps:
Begin by uploading your XML file in WP External Images and integrating all the images.
Ensure that all your images are integrated and appearing in the media library.
Navigate to WP All Import & Export to proceed with the product or post import.
During the WP All Import & Export import process, when you reach the stage of importing images select “Use images currently in Media Library” in the Images section.
Drag and drop the corresponding import elements with the image filenames. This ensures that WP All Import & Export won’t download the images from your media library again, as they are already integrated.